Your water heater is what provides all the essential hot water to your house when you need it. The times you realize how important it truly is can often be when it isn’t working or is backed up. To make sure your water heater is working properly, you have to make sure to flush it out to ensure it works at its best capacity.
To help you understand the basics of water heater flushing, we will first look at why it is so important and how often you should go about doing it. We will then walk you through a general guideline for flushing your own water heater so it can perform efficiently.
Why Do You Need to Do a Hot Water Heater Flush?
With extended use, water heaters begin to accumulate sediment and buildup that is naturally found in the water supply. What happens in the heater is that sediment can buildup and clump together causing either inefficiency or damage to the unit. This is especially common with water heaters in Phoenix, which has very sediment-rich water.
Flushing out your heater prevents excessive sediment buildup and ensures that you are able to operate the unit with better efficiency and less worry of failure. It is possible that some of the most common water heater problems you are experiencing could be resolved by a simple flush.
Water Heater Flush Cost
As you’ll see, a water heater flush costs nothing considering you can do it yourself with just a few easy steps.
How Frequently Should You Do a Hot Water Heater Flush?
Considering how essential your water heater is, you shouldn’t put off flushing out your system for too long. Every water heater has a different lifespan but making sure you do regular water heater cleanouts will help it reach its intended lifespan. On average, you should look to flush your heater every few years. If you want to ensure the best performance for your unit, flushing it once a year would be ideal and these next steps will show you how easy that can be.
Steps for Performing a Water Heater Cleanout/Flush
Shut Off Gas
Just like any other appliance in your home, your heater will have some power being supplied to it for operation. Depending on your unit, you may have to do just one of these steps during a water heater flush or possibly more. Shutting off your gas will ensure that the unit is not receiving any gas and can’t heat up or leak.
Cutting off the power to your unit can usually be done through your circuit breaker where you should have a labeled switch for the heater. This will prevent any electrical issues from happening as you work on the unit. Remembering this step will ensure a safe working environment for whoever is completing the flush.
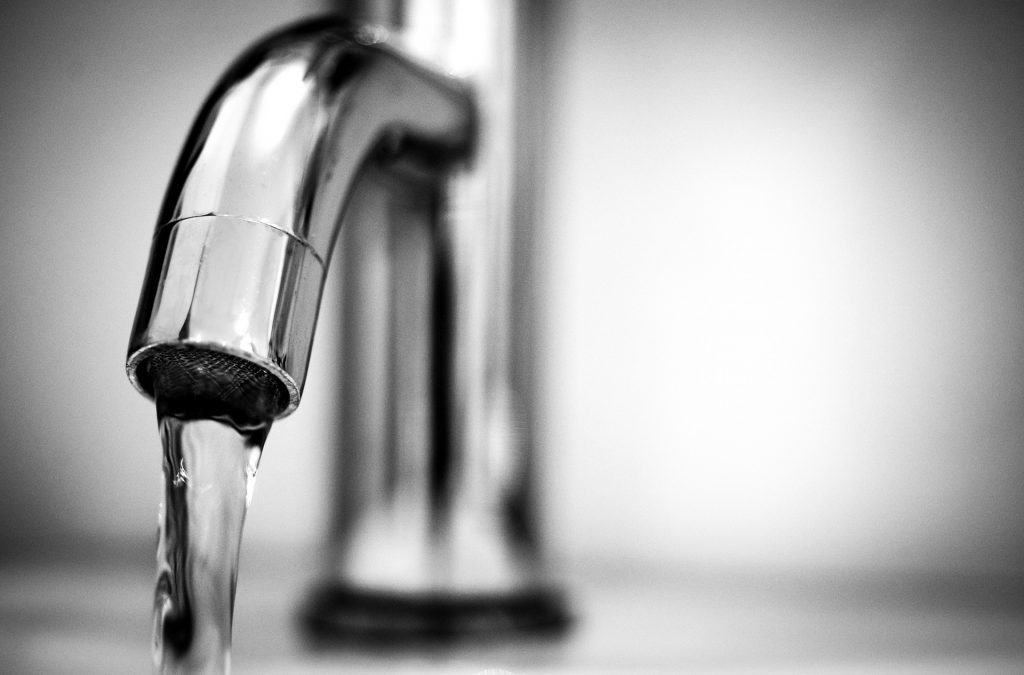
Open a Hot Water Faucet
You need to trick your system into thinking it needs to be running, so you must open a hot water faucet in your house to do this. Water will pour out, but it will not be heater at the time of the procedure. This step is also very important as it prevents a vacuum from forming in the pipework that could cause unwanted air bubbles in your water system.
Turn Off the Cold Water Valve
Your water heater will have a supply valve that leads into the unit for supplying cold water. When performing the flush, you will want to shut this valve off. It should be located either on or near your unit and will generally be towards the top. It will look like a standard faucet valve and could potentially be colored blue to represent cold water. Turning this valve off prevents water from flowing into the unit during the flush which would make the whole process a lot messier.
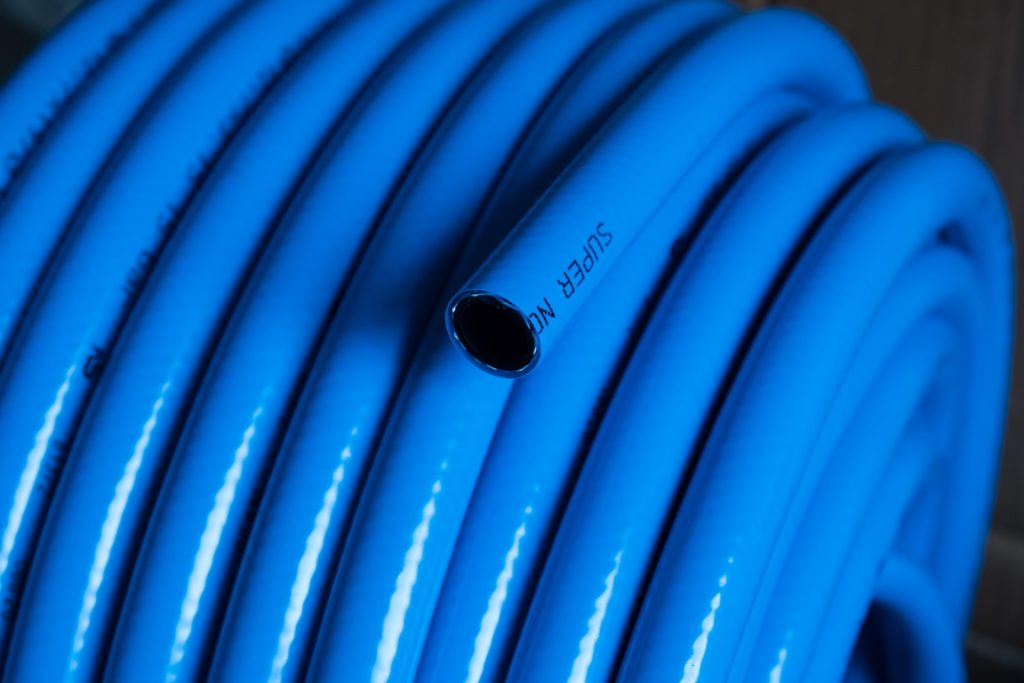
Connect a Hose to the Heater
The next step is to locate your spigot. This will be at the bottom of the unit and will look like a normal hose faucet. You may want to place a bucket under this before starting anything else as it could start to drip as soon as the cap is removed. You need to find a garden hose that can screw onto this spigot as that is the easiest way to drain the system.
If your heater is higher up in your house, gravity should be able to let the water flow. If the unit is in your basement, a pump may be needed to help the water get out of the unit. Make sure you have the end of the hose placed in some sort of bucket or containment area, so it does not spill everywhere.
Water Heater Flush for Sediment: Drain the Tank
At this time, you can begin to drain the unit by turning the spigot that the hose is connected to. As the water drains out of the tank, you can use this time to see the conditions that your heater may be experiencing. If the water is mostly clear and normal looking, your water heater is probably in good shape.
However, water that is darker and that contains sediment could be a much bigger issue. If you are emptying the tank and there is a significant amount of solid material coming out, the inside of the tank could be much worse than you’ll be able to solve with a simple water heater flush for sediment. This is where you will likely want to call a professional to inspect the tank for more serious issues and buildup.
Note: If you’re doing tankless electric water heater flush, you’ll obviously be skipping this step.
Flush the System
Now that the water is out of the system, you are going to begin to flush the unit out. Remember the cold-water spigot you previously turned off? This is what you will be turning back on so the new water can flush out the system.
It is advised to empty out the old bucket and check for sediment before filling it up with this new flushed water. Flush your water tank for a few minutes until the water coming out appears to be clear and normal. This will indicate that the system is fully flushed, and the process is almost done. Remember to turn off the cold-water supply before taking off the hose and removing the bucket.
Reactivate Power and Gas
Now that the flush is done, it is time for clean-up. The first thing to do is to turn off the drain that the hose was connected to so that water cannot escape. Also, remember to close the hot water faucet in your home that you opened at the beginning.
Turn on the cold-water supply again and allow the tank to fill back up. You will want to open the pressure valve on your tank when it is full so the air can escape, and the unit can operate. Open the hot water faucet in your house again to let any excess air out. Lastly, turn back on the gas and water leading to the tank. Give the water roughly 30 minutes to heat up before testing to see if the water coming out of your house is hot when needed.
Conclusion
Congratulations! You have now completed all the essential steps to flushing your water heater in a relatively quick time. Now that you understand the process, you can be better prepared for the next time your heater needs a flush. Taking the time to flush your heater will ensure that it is operating at its highest potential and serves you well for many years.
If you like what you’re reading, check out more of our articles on “Choosing an HVAC Company in Maricopa“, “Water Heaters Temperature Settings” and “Must-See Historical Sites in Scottsdale“.
Frequently Asked Questions
How often should you flush a water heater?
Flushing your water heater at least once per year is ideal, particularly if you live in a region with hard water and don’t have a softener. If you do have a functioning softener, you can get away with flushing once every couple of years but doing it more frequently isn’t going to hurt.
How much does it cost to flush a water heater?
If you’re not confident doing the job yourself, expect to pay around $100. This is really a minimal expense considering how damaging sediment can be for your water heater.
What happens if you don’t flush your water heater?
If you neglect flushing your water heater, sediment may cause damage to the tank and issues such as clogged drain lines.
How long does it take to flush a water heater?
While your first flush might take a bit longer, you’ll eventually be able to do the whole process within about an hour.
Related Posts