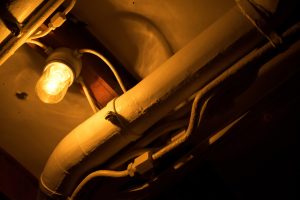
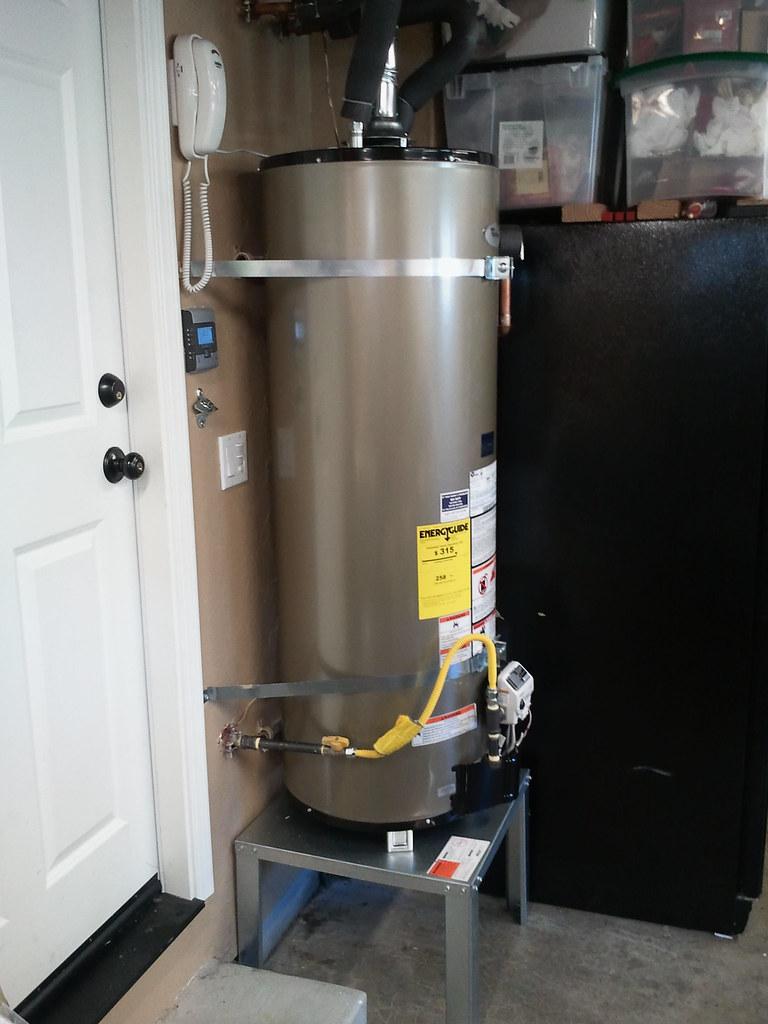
A well-functioning water heater is necessary for everyday comfort; they provide hot water for showers, dishes, and other household needs. Discovering a leaky heater at the bottom of the water heater can be alarming and raise concerns about potential water damage and repair costs. If not addressed promptly, a leaking hot water tank can cause significant damage to floors, walls, and personal belongings.
Water damage is not only inconvenient but can also lead to severe issues such as mold growth, structural damage, and increased utility bills. Acting quickly to address the source of the leak can prevent these common water heater problems and save you from costly water heater repair.
In this guide, we’ll explore what to do if your water heater leaks from the bottom, including understanding the causes, taking immediate action, and knowing when to call a plumber or professional.
Understanding the Causes of Water Heater Leaks
Why is my water heater leaking? Leaks, especially from the bottom of the water heater, often indicate an underlying issue. Here’s a deeper look at common causes:
Sediment Buildup: It’s not uncommon for sediment to gradually accumulate at bottom of hot water heater tanks, especially in areas with hard water. This buildup can lead to corrosion and create small holes or tank leaks. Sediment traps heat and can cause uneven heating, exacerbating tank wear and tear.
Corrosion: Heaters, particularly those with a steel tank, are prone to corrosion. As the tank ages, it can develop rust and small leaks. High temperatures and chemical reactions within the tank often accelerate corrosion.
Faulty Valves: The drain and pressure relief valves are crucial heater components. A loose or damaged supply line or drain valve can cause a leak, while a damaged pressure relief valve can potentially lead to excessive pressure and leakage.
Thermal Expansion: When water pressure inside the tank increases due to thermal expansion and the lack of an expansion tank, it can lead to leaks due to too much pressure.
Improper Installation: Poor installation practices, such as incorrect sealing or inadequate support, can lead to leaky connections and eventual tank damage.
Immediate Steps to Take When You Discover a Leak
If you discover a leak, you can follow these steps to address the damage and deal with the problem:
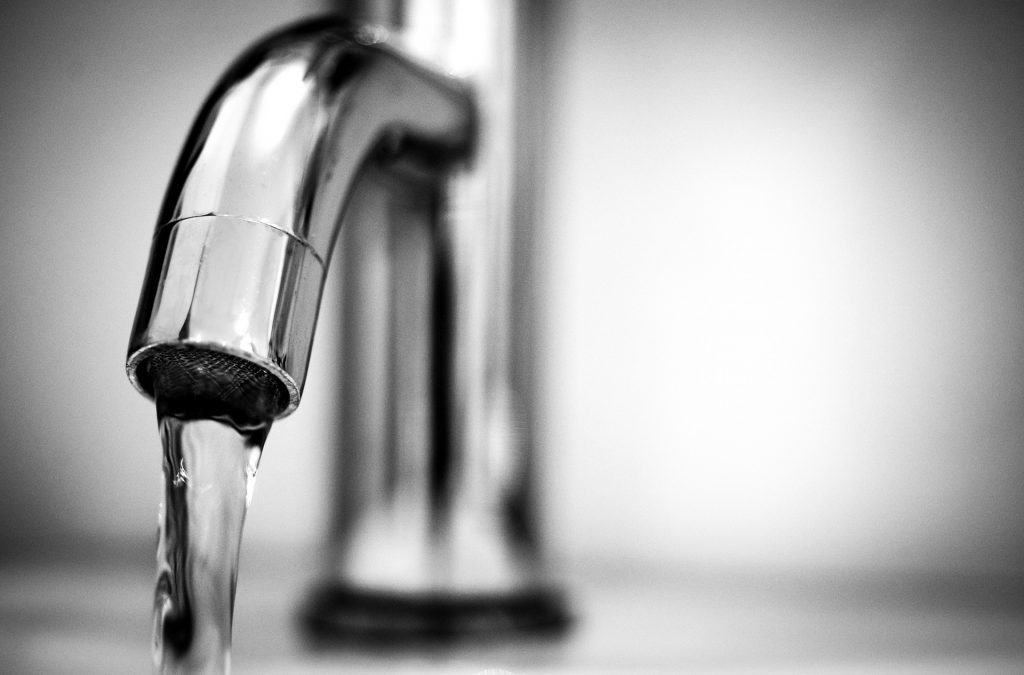
- Turn Off the Supply: Locate the cold water supply line and the valve connected to your water heater. Turn the valve clockwise to shut off the supply. This will stop more water from leaking out and help prevent further damage.
- Shut Off the Power Supply: Turn off the circuit breaker connected to the unit for electric heaters. For a gas water heater, turn the gas line control valve to “off.” This prevents the risk of electrical hazards and stops the heating process, which could worsen the leak.
- Assess the Extent of the Leak: Check the area around the heater for the severity of the leak. Is there a small puddle or significant water pooling? Determine if the leak is minor or if the tank is significantly damaged. If you’re unsure, it’s a good time to call a plumber.
- Drain the Tank (If Necessary): If the leak is severe and water accumulates, you may need to drain the tank. Attach a hose to the drain valve at the bottom of the tank and direct it to a floor drain or bucket. Open the drain valve carefully to allow the water to flow out.
Troubleshooting and Temporary Fixes
Although we always recommend calling in a professional, you can try these troubleshooting steps and temporary fixes:
- Inspect the Drain Valve: The drain valve at the bottom of the tank can sometimes become loose or damaged. If it’s loose, use a wrench to tighten it. If it is cracked or leaking, you may need to replace it.
- Check the Pressure Relief Valve: The pressure relief valve helps release excess pressure from the water heater tank. If the valve is damaged, it can lead to a leak. Inspect the valve for potential signs of damage and consider replacing it if necessary.
- Apply Temporary Repairs: For small tank leaks or cracks, you can use a heater patch kit or epoxy compound as a temporary fix. Follow the manufacturer’s instructions for application. Remember, these are short-term solutions; a professional should inspect the heater immediately.
- Use a Water Heater Pan: If you don’t already have one, consider installing a heater pan under the tank. This pan can catch any minor leaks and prevent damage to your floor.
When to Call a Professional
While DIY fixes can help, it’s essential to call a professional plumber in certain situations:
- Persistent Leaks: If the leak continues despite your efforts to fix it, or if you notice significant damage, it’s time to call a professional. Ignoring a severe leak can lead to more extensive damage and higher repair costs.
- Corrosion or Structural Damage: If the tank is corrupted or damaged, a professional water heater repair or replacement is necessary. A professional technician can assess the level of damage and recommend the best course of action.
- Finding a Reputable HVAC Professional: Look for professionals with experience in heater repair. Check reviews, ask for recommendations, and ensure they have the necessary licenses and insurance. A professionally-trained technician can perform a thorough inspection and reliable repairs.
Preventing Future Leaks
To reduce the risk of future leaks and prolong the life of your energy-efficient heater, consider these tips:
- Regular Maintenance: Remember to perform regular maintenance on your water heater. Some common maintenance tasks include flushing the tank to remove sediment and inspecting valves and connections. A well-maintained heater is less likely to develop leaks.
- Upgrade Your Heater: If your unit is old or prone to leaks, consider upgrading to a more durable or efficient model. Modern heaters are designed to be more resistant to leaks and have better safety features.
- Install a Water Softener: Installing a water softener can help reduce sediment buildup and prevent corrosion in areas with hard water. It treats hard water before it enters the tank, reducing wear and tear on your unit.
Conclusion
Dealing with a leaking water heater can be stressful, but taking prompt action is key to preventing further damage and ensuring your home stays safe. By understanding the causes of leaks, acting quickly, and getting professional assistance when needed, you can protect your property and extend the life of your water heater system. Professional maintenance and timely repairs can help you avoid costly issues down the road.
If you’re facing a water leak, don’t wait—reach out to American Home Water & Air. Our experienced team is ready to provide a thorough inspection and reliable repairs. Contact us to schedule your water heater service and enjoy peace of mind knowing your home is in expert hands.
Related Posts