With proper maintenance, there’s no reason your water heater shouldn’t last more than 10 years. Knowing how to clean a water heater is one of the keys to achieving this. In this post, we’ll give you a thorough run-through of the process for cleaning your water heater regardless of its type.
How To Clean Your Water Heater: The Basics
Why Should You Do It?
As you’ll know if you’ve read our article on drinking tap water in Phoenix, the water arriving at your home in Arizona (or any U.S. state, really) contains sediment, minerals, and chemicals. Over time, these contaminants can build up in your water heater and make it run inefficiently.
Such inefficiencies can include uneven heating, an element that fails to remain lit, and a clogged drain valve. These will all lead to higher than expected bills. In extreme cases, the sediment buildup can get so bad that it causes leaks in your water heater.
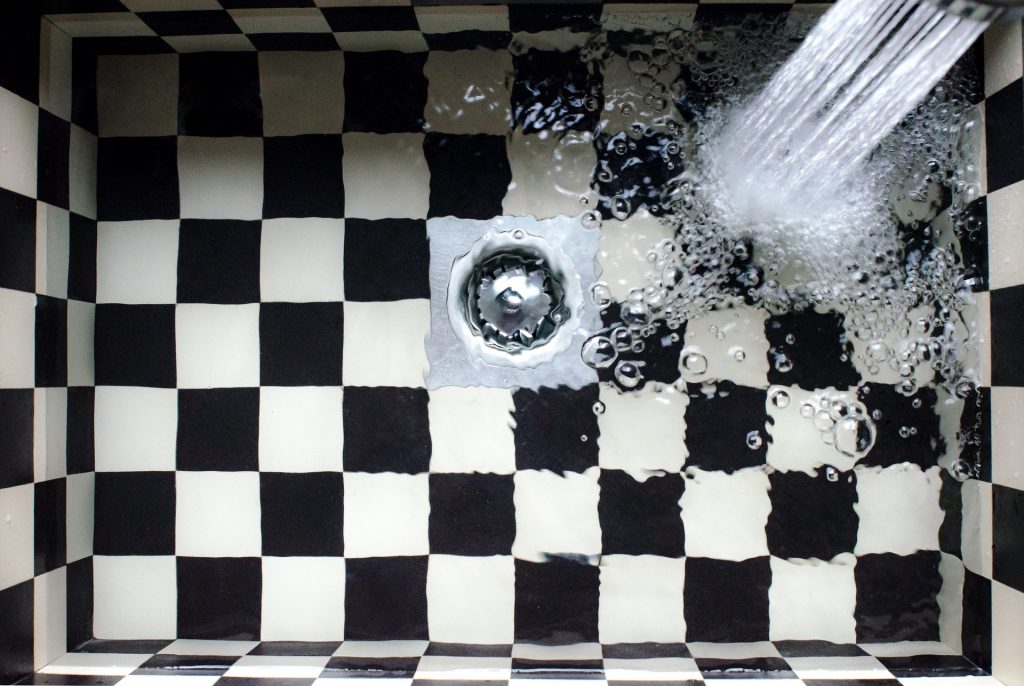
Flushing the system regularly is the best way to avoid this.
How Often Should You Flush Your Water Heater?
At the very least, you’ll likely want to flush the system once per year. It does depend on the makeup of your local water supply as well as what equipment you have in your home, though.
Refer to the Environmental Protection Agency (EPA) for information about your area’s drinking water. If you have an efficient water softener installed, your heater may not require flushing as often since that equipment will reduce sediment buildup.
Water heaters in Phoenix have a particularly tough time with sediment since the state of Arizona has some of America’s hardest water. So if you don’t have a water softener installed, you may want to flush the heater as often as every month or two in order to avoid issues.
Signs It’s Time To Flush Your Water Heater
Flushing your water heater on a set schedule is an effective strategy but you may also find it useful to know the warning signs that indicate a flush is in order.
Here’s a quick rundown on these signs.
You Can’t Get Hot Water
If you can’t get hot water from your heater, sediment may have built up within it so extensively that it is either preventing the element from being lit or preventing the heat from transferring to your water.
In either case, this is a sign that you need to flush the heater.
Your Water Heater Is Making Strange Sounds
In regions where water is particularly hard, sediment can clump together and form calcified stones that bang against the sides of your water heater. This is a sign that you need to flush the heater before these stones get so large they clog up the pipe.
Your Water Smells Funny
While sediment buildup is generally chief among your concerns when cleaning your water heater, bacteria can also grow inside a tank that has not been flushed in a while. This bacteria can produce a funny smell in your water. You’ll need to not only flush the tank but sanitize it, which we’ll explore in the next section.
How To Clean Your Hot Water Heater: The Process
As part of cleaning your water heater, you will need to open several faucets in your home and allow water to drain completely out of the tank.
Learning how to clean your hot water heater is actually quite easy as long as you follow the proper steps. With time, you’ll find these steps become second nature to you.
Step #1: Prepare The Heater For Flushing
Before you do anything else, switch your water heater’s thermostat off. Depending on your tank, you may be able to simply switch it to “Pilot” mode. This will save you the trouble of having to reactivate the water heater pilot light, which is easy but a process nonetheless. If you do this, you also won’t need to switch the gas off.
If you have an electric water heater, you’ll need to cut power to the unit using the appropriate switch.
Lastly, switch the cold water supply off. You’ll usually find the valve for this process located atop the heater.
Step #2: Open The Hot Water Faucets In Your Home
This will help you drain the tank. If you don’t follow this step, a vacuum will form and keep the water trapped in your tank. It’s a weird physics effect akin to how water stays trapped in a straw if you keep your finger on top.
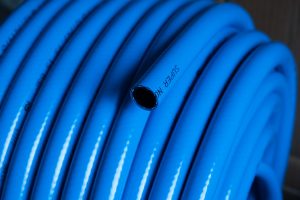
Step #3: Connect A Hose To Your Tank’s Drain Valve
The drain valve should be located near the bottom of the tank. You’ll want this hose to either lead into a very large container or (preferably) outside and away from your home’s foundation. A mere bucket may not be large enough and you’ll run the risk of flooding your basement or whatever room the tank is in.
If your basement has a drain, you may be able to place the other end of your hose near it and direct the water there.
Step #4: Open The Drain Valve And Let The Tank Empty
Depending on how much sediment has built up in your tank, you may be able to observe chunks being expelled from it. As you clean your tank more regularly, you’ll be able to gauge whether you’re being consistent enough based on the amount of sediment that comes out.
Not Getting Any Water Out Of The Tank? Try This!
If you open the drain valve and don’t notice any flow, this is a sign that sediment has built up so extensively within the tank that it has clogged the drain valve. To remedy this, use a wet/dry shop vacuum to dislodge the blockage. This will usually do the trick. If it doesn’t, the issue may require expert attention.
Step #5: Reactivate The Cold Water Supply
Reactivate the cold water supply before you disconnect your hose from the drain valve. This water will help dislodge any additional sediment that may have been inside your tank.
Let the drain valve run for a few minutes until the water exiting from the hose is clear. Then, turn the cold water supply off once more.
Step #6: Shut The Drain Valve Off
Remove the garden hose from the drain valve and shut the valve off before turning the cold water supply back on.
Step #7: Close The Faucets After A Minute Or So
As your water heater’s tank refills, you may notice that discolored water flows out of your faucets. After a minute or so, this should clear up. Once this happens, you can close the faucets.
Step #8: Return Your Water Heater To Its Ready State
This includes setting the thermostat back to its typical state, relighting the pilot light if you opted to switch it off, and switching the electricity back on if you’re working with an electrical heater.
How To Clean A Hot Water Heater With Vinegar
If you believe that your water heater has gotten severely backed up with sediment, you may need to use vinegar to cut through this buildup.
As far as how to clean a hot water heater with vinegar, the process only requires a few steps in excess of what we mentioned above.
Before you follow the above steps, do the following.
Remove The Anode Rod
Refer to your tank’s manual for the exact process associated with this. Generally, you will need to unfasten a recessed bolt using a wrench.
Use A Funnel To Place Vinegar Inside The Tank
When you remove the anode rod, you will notice a hole in its place. Here is where you need to place the funnel. Pour no more than four gallons of vinegar through this funnel and into the tank.
Replace The Anode Rod And Activate The Cold Water Supply
Reinstall the anode rod and switch the cold water supply back on, This will cause the tank to refill. Let the tank sit with this vinegar-infused water for a full 24 hours. During that time, the vinegar’s acidity will work to eat away at the sediment.
Go Through Steps #1 through #8
Complete the draining and flushing process as outlined in steps #1 through #8 to remove the vinegar (and sediment, which should have dissolved) from your tank.
How To Clean A Tankless Water Heater
Just because your water heater doesn’t have a tank doesn’t mean it’s not susceptible to the buildup of sediment and minerals. The difference is that a tankless heater, as the name would suggest, does not store water but rather heats it on demand.
Because of this, learning how to clean a tankless water heater involves getting familiar with the process of pumping water into the system and then guiding it out.
Here are the steps for doing this properly.
Step #1: Switch The Power And Gas Off
Shut the power and gas (if your tankless heater uses gas) off to start.
Step #2: Remove The Unit’s Panel And Test The Electricity
A no-contact electrical tester will tell you whether you’ve successfully disconnected electricity to the tankless water heater. This is a safety precaution in case that will inform you of whether you’ve mistakenly shut off the wrong switch in your circuit breaker.
Once you’re certain the electricity is off, move on to the next steps.
Step #3: Turn Off The Water Supply
You’ll want to shut off the water supply that leads directly into your tankless heater.
Step #4: Connect The Hoses
Unlike a water heater with a tank, you’ll need to actually introduce water into your tankless heater as part of flushing it. That’s why you need two hoses. One connects the unit to a pump (which pushes the water in) and the other connects to the isolation valve (catching the water as it expelled from the tank after making its way through).
Step #5: Prepare A Five-Gallon Bucket With Your Pump And Hose
Fill a five-gallon bucket with vinegar and place your pump inside it, along with the open end of your second hose.
Step #6: Let The Pump Run For An Hour
Let the pump run continuously for an hour. The pump will run the vinegar through your tankless heater through a loop. This constant flow (and the vinegar’s acidity) should be strong enough to wear away at any built-up sediment in your heater.
Step #7: Remove The Pump And Activate The Cold Water Supply
Leave the end of your second hose in the five-gallon bucket, which you should have now emptied of any vinegar. Let the cold water run through the system and into the bucket for about five minutes before shutting the cold water supply off.
Step #8: Return Your Tankless Heater To Its Operational State
This includes disconnecting the hoses, replacing the panel, and reactivating the water supply valves. Restoring electricity to the unit should be the last step.
How To Clean Out Your Water Heater: Conclusion
Through this guide, you hopefully understand that learning how to clean out your water heater doesn’t require any specialized knowledge of the system. With the steps above, you should be able to accomplish this with no hassles.
To recap, let’s look at some of the specific considerations you need to take depending on your water heater’s type.
How To Clean An Electric Water Heater: Special Considerations
The process for how to clean an electric water heater is even simpler than cleaning a gas one. You do not need to relight the pilot light after you’re done since everything operates electrically.
How To Clean A Gas Water Heater: Special Considerations
You have two special considerations to take into account as far as how to clean a gas water heater goes. You need to switch the gas off before going through the procedure. You will also need to relight the pilot light after you’ve finished since turning the thermostat off will deactivate it.
Cleaning A Tankless Water Heater: Special Considerations
Because your heater does not retain a tank of fluid, you will need to introduce water and flush it out.
Feel Like This Is Above Your Pay Grade? Trust American Home Water and Air
If you feel like this is all too confusing for you, don’t worry. If you’re in the Phoenix, Arizona area, we’d be more than happy to help you maintain your water heater and provide more services such as installing tankless water heaters in Phoenix. Contact us to learn more about our transparent pricing and worry-free service. Also, check out our other articles about water heaters, such as “Adjusting water heater settings“.
Related Posts