Mini-split air conditioners are quite popular – and for good reason. They’re one of the easiest and cheapest types of air conditioners to install if your home doesn’t have existing ductwork. In fact, the process is simple enough that you can install a mini-split on your own, provided you have the necessary skills and tools.
In this post, we’ll walk you through the process of installing a mini-split in your home.
Installing A Mini-Split: What You’ll Need
First and foremost, you need to have determined that a mini-split air conditioner is indeed the right cooling solution for your home. Check out this post to learn about the pros and cons of mini-split (aka “ductless”) air conditioners. Generally, they make the most sense when installing a central air conditioner would be too costly. The most common scenario is when your home doesn’t have any ductwork. Installing ducts can add as much as $3,300 to the overall cost, on average. Mini-split air conditioners, of course, don’t use ducts so you’ll avoid this added cost.
Next, you’ll need these tools and supplies:
- A torque wrench set
- Hand saw
- Power drill
- Drywall anchor
- Wood screws
- Electrical tape
- Level
We’ll also note that this process is much easier if you have a second pair of hands to assist you with holding things in place while you install the unit.
How To Install A Mini-Split Air Conditioner
Step #1. Select The Right Unit
There are two basic types of mini-split air conditioners. On one hand, you have multi-zone units, which segment your home into various regions and can handle several air handlers. These are more complicated to install so you may be better off enlisting the help of a local HVAC company if you’ve purchased a multi-zone unit. Contact us at American Home Water and Air if you live in Phoenix.
There are also dual-zone multi-splits, which typically come with one condenser and two air handlers. These are simpler to install than multi-zone mini-split air conditioners.
Check out this post to learn about properly sizing your air conditioner. This is a crucial step; inappropriately sized air conditioners can cause airflow issues and other undesirable effects.
Step #2: Install Your Indoor Unit(s)
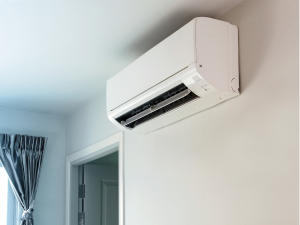
When installing a mini-split air conditioner’s interior unit, refer to its manual. You’ll generally be fixing the unit to your wall using screws and drywall anchors. You should choose a spot to install the unit that meets these criteria:
- At least six feet above the floor
- Outward-facing (you’ll be running refrigerant lines directly through this wall and to the outdoor unit)
You will typically need to install the bracket first using your anchors and screws. Next, create a roughly 2-inch hole (or whatever size the manual has identified) next to the bracket. It should run right through the wall and lead outside. This is where you’ll run the refrigerant line and other cables that need to reach your outdoor unit. You should angle this hole slightly downward as it will help with drainage.
Connect the control wire to the back of your indoor unit. You may need to remove a plate, depending on the model. Next, connect the refrigerant and drainage tubes. Proceed by fastening the cables together using electrical tape and running them through the hole in your wall so that they dangle outside.
Finish this step by mounting your indoor unit to its brackets.
Step #3: Install The Outdoor Unit
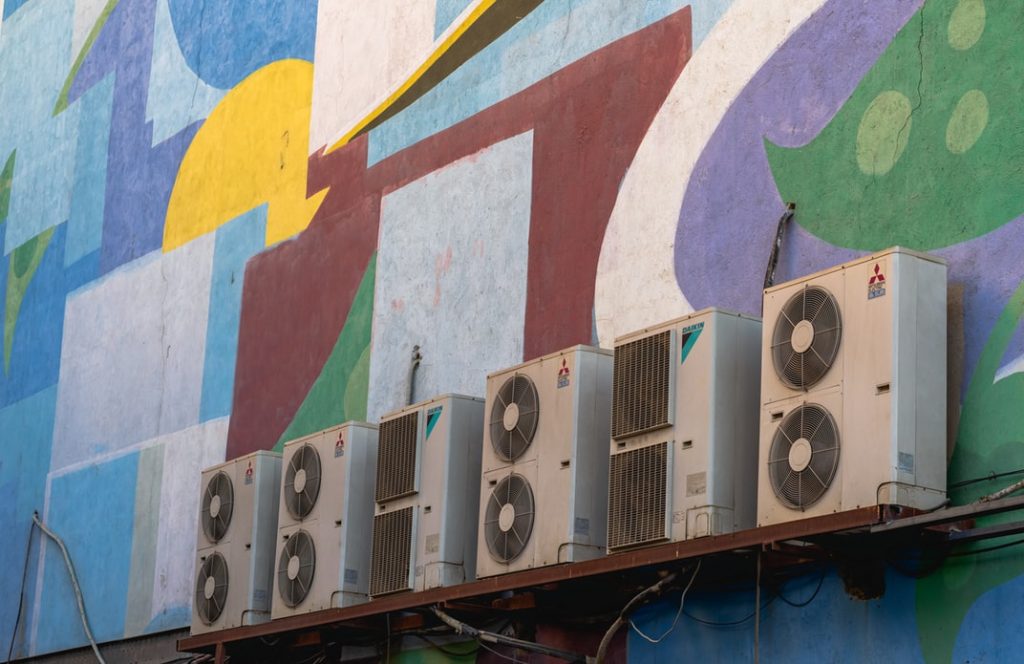
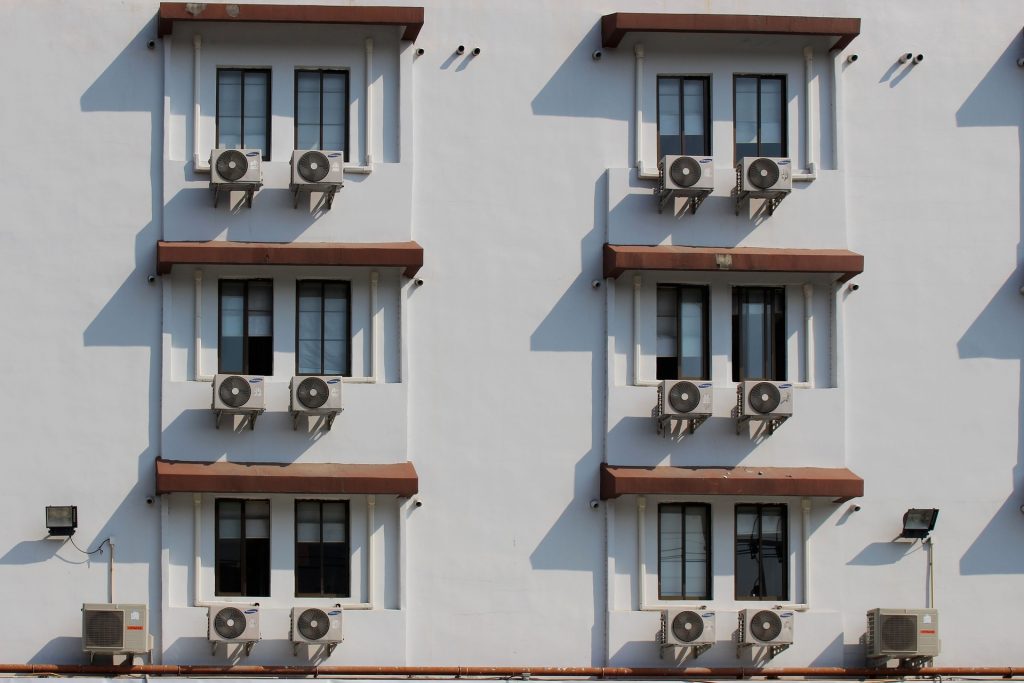
Your next step in the ductless air conditioner installation process is to work on your external unit. You can place it on your roof or an outside wall. It should be within reasonably close proximity to the hole you made in Step #2 since you’ll need to run those cables to the outdoor unit.
Once you’ve found a suitable position, mount the outdoor unit then connect your tubing and wires to the appropriate inputs. Once again, refer to the unit’s manual for the exact instructions.
During this step, you’ll likely need to use your torque wrench for connecting the pipe joint.
Step #4: Have A Professional Review Your Work
Air conditioners use a lot of energy to cool your home. Improper installations can be quite wasteful, which is why it’s wise that you have an expert review your work soon after you finish the ductless air conditioning installation process. Check out this article for some tips on choosing a reliable air conditioning service company.
Not Sure You Can Handle This? Hire A Professional
While mini-split AC installation isn’t the hardest thing in the world for an experienced DIY enthusiast, it can be challenging if you’ve never done anything like it before. The above guide should leave you with a pretty clear idea of what needs to be done. If any of it is perplexing, there’s no shame in scheduling for an AC Installation In Phoenix, Arizona, and having a professional do the work for you. Check out our pricing page to learn more about how much we charge for HVAC services and contact us if you live in the Phoenix area and would like a quote.
Hiring a professional for AC repair in Phoenix, AZ is especially important if you ever encounter issues in the long run. Doing so would guarantee that the issues are completely resolved, saving you time and money in the process.
Also, check out our other articles on topics like venting a portable AC without a window and through-the-wall air conditioner installation.
Frequently Asked Questions
Can you install a mini-split yourself?
If you’re handy with tools and are confident in your ability to make decisions about where the units go, you can certainly install a mini-split by yourself. Their lack of ductwork makes installation a relatively easy process. Mount the interior and exterior units, drill a hole, pass cables connecting the two, and you’re good to go. That’s an abridged version of the process but it’s the gist of it.
On the other hand, if you’ve never installed a large appliance like this before, you may prefer relying on a professional, even if only to give yourself peace of mind in knowing that the job is done right.
How much does it cost to install a mini-split?
On average, you can expect to pay between $2,000 and $14,500 on installing a mini-split, including purchasing the unit itself. Don’t let the higher end of that range scare you. It’s highly unlikely you’ll spend that much unless you have a large commercial facility and need several indoor and outdoor units to provide the proper coverage. For residential purposes, expect to spend about $2,500 on the unit and professional installation, on average.
Do I need a license to install a mini-split?
No, you don’t need a license to install a mini-split air conditioner. Licenses are generally only required if you’re handling refrigerant directly, such as when refilling an air conditioner. Even then, rules vary depending on the refrigerant and your jurisdiction.
How long does it take to install a mini-split?
The whole process, from purchasing the right supplies to finalizing the installation, can take roughly two days if you’re installing lots of indoor evaporators. If you’re just installing a single evaporator and connecting it to an outdoor unit, you can typically get the job done in a day.


