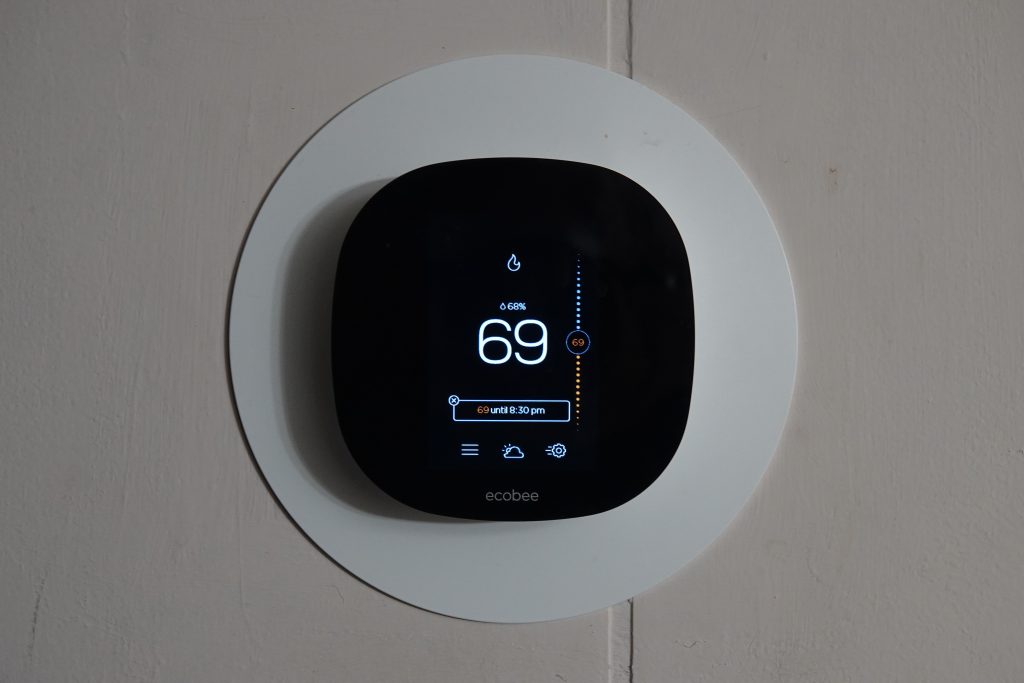
If you’re not used to performing home improvement projects, the thought of installing a thermostat can seem pretty complicated and daunting. However, the process is a lot easier than most people think and can have a lot of benefits for your home and your family’s comfort.
This helpful beginner’s guide will walk you through how to install a thermostat.
Benefits of installing a programmable thermostat
Before we get to the beginner’s guide on how to install a thermostat, let’s quickly go over the numerous benefits.
One of the biggest benefits that comes from installing a programmable thermostat in your home is that it helps save on energy usage and heating and cooling bills. The U.S. Department of Energy has stated that programmable thermostats save people about 10% on their monthly bills on average.
This is because programmable thermostats allow you to set a schedule to automatically adjust the temperature depending on the time of day. You can adjust this schedule whenever you need to, which also allows you to program your thermostat to use less heat or cool air if you go away on vacation. Your thermostat instruction manual can tell you exactly how to change a thermostat.
Installing the thermostat yourself is an easy task that will typically take about an hour from start to finish. Additionally, many available models are low cost — some are under $25 — and the savings gained from the thermostat will help the device pay for itself in a relatively short amount of time.
Installing the thermostat by yourself will also save you money that would otherwise go to paying a professional to install it. Since the procedure is relatively simple, there’s virtually no need to hire a professional. However, if you’re looking for professional help with your new thermostat, you can reach out to American Home Water & Air for professional thermostat services.
Things to do before you begin your installation
Before you start your installation process, there are a few things that you should do and check to make sure you’re all clear to proceed to the first step. One of the things you should do is check the wires that run from the furnace to your existing thermostat. This way, you can find out if your wiring is set up to support a programmable thermostat. This is a key step when learning how to replace a thermostat.
If you’re looking to install a non-programmable thermostat, this is still a good step to follow. You can use this process to get familiar with the wiring and how it connects to the furnace.
Additionally, you’ll want to measure the hole behind the existing thermostat on your wall to make sure that the new thermostat is big enough to fully cover the hole.
Now it’s time to begin installation! Here’s how to install a thermostat.
Step #1: Turn off the power
The very first thing you should do before playing around with any wires or electrical equipment is shut off the power to that part of the house. You can do this by turning off the breaker that’s labeled for that device or room.
Step #2: Remove the old thermostat
After you’ve turned off the breaker, you should go ahead and remove the cover from the old thermostat. Typically, these will pop off easily if you apply light pressure. In some cases, you may need to unscrew your thermostat cover, though.
Once the cover has been removed, use a screwdriver to remove the old thermostat from the wall. Pull it out carefully from its place on the wall, but leave the wires connected for the time being.
Step #3: Label the wires
This step isn’t necessary, but it will make your process so much smoother (trust us). Easily label each wire by writing on a small piece of masking tape and taping it to each wire. Your labels can be as simple as writing a single letter to indicate where to attach each particular wire to the old thermostat.
Step #4: Disconnect the wires
Once you’ve gotten all of the wires properly labeled, go ahead and disconnect them from your old thermostat. Be careful during this part, though. If you don’t secure the wires somehow, they could disappear behind the wall, which is a huge pain to sort out.
Secure them by taping them to the wall or by wrapping them around something small like a pen or pencil.
Step #5: Confirm the wiring and install your new faceplate
Check out the number of wires coming from the wall. If there are only two wires, it means that there is no power source directly connected to the thermostat and that your programmable thermostat will need to be powered using batteries. If there are more than two wires, the power will come from the wall.
Attach your faceplate to the wall following the manufacturer’s instructions. Then, thread the wires through the faceplate.
Step #6: Connect the wires
Connect the wires that you’ve threaded through your new faceplate to the new thermostat. Make sure to match the correctly labeled wire to the correct spot on the new thermostat. If your thermostat needs batteries, add them now.
Once the wires are connected, attach the thermostat to the faceplate and attach any cover to the thermostat.
Congratulations! Your new thermostat is ready to go.
Be sure that you turn your breaker back on after you complete installation. Congratulations! You did it! We bet that was easier than you thought it was.
DIY projects like this one can be incredibly rewarding and are often a lot easier than many people expect. If you follow all of the instructions and safety recommendations, your programmable (or non-programmable) thermostat installation should go off without a hitch. Also, check out our article about through-the-wall air conditioner installation.
Please note: If you run into any problems or don’t feel safe completing any of these steps, be sure to contact a professional to finish the installation safely.
[related_posts_by_tax posts_per_page="3" format="thumbnails" image_size="medium"]


