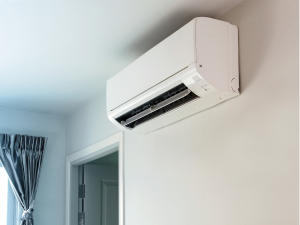

Portable air conditioners installation is a lot simpler than many people believe. Once you have all of the necessary components, the process can take as little as 10 minutes and should not take any longer than 30 minutes.
In this guide, we will cover the best method for portable air conditioners installation in your home. We will also cover the most important aspects of the installation process.
What are the most important parts of the installation process?
There are two parts of the portable air conditioners installation process that are more important than all others: venting and drainage.
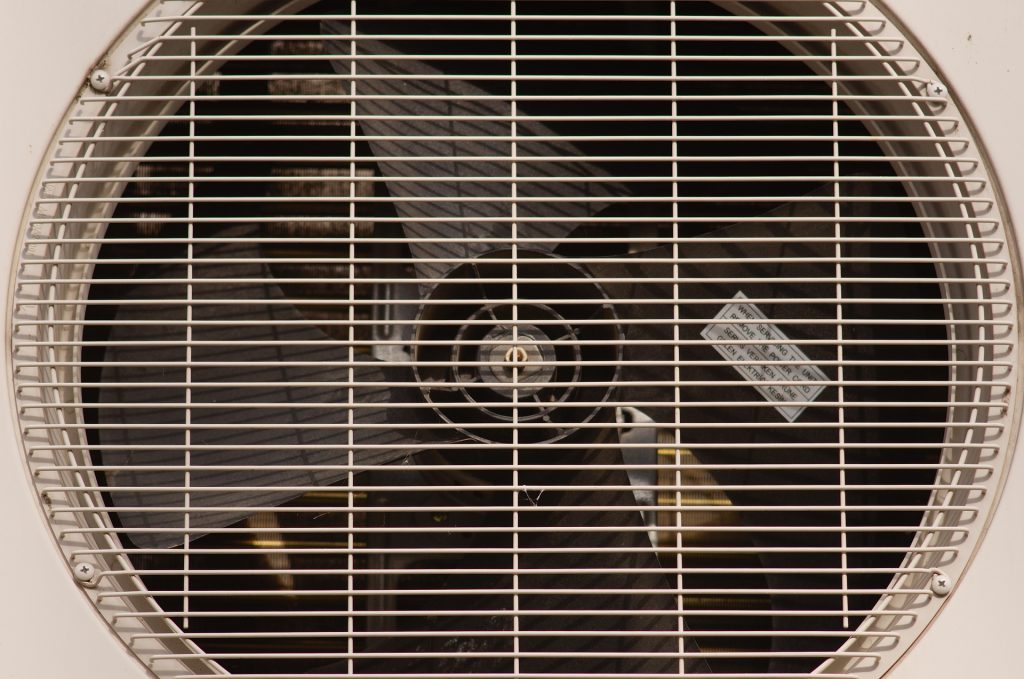
Venting: Venting is the process of removing hot air from your home to the outside. Your portable air conditioner won’t work properly if it can’t effectively vent the hot air outside, so this step is crucial. Don’t worry, though. We will cover the best ways to vent your hot air through the window during the portable air conditioner installation guide.
Drainage: On hot days in humid climates, your air conditioner can drain between five to 20 gallons of water each day. Many portable air conditioner units don’t actually need to be drained because they have a condensation exhaust system that helps release collected water vapor that accumulates during the cooling and dehumidifying process. Other units may need to be drained manually.
Safety considerations before installation
Before jumping into our guide for how to install a portable air conditioner, we highly recommend that you read the following safety considerations so that you understand the process and how to keep yourself safe.
- Read the manual. We get it. You probably searched for the best way to install a portable air conditioner because you didn’t want to read the manual. We have to stress that this article is not a replacement for the manufacturer’s recommendations.
- Be mindful that portable air conditioners are quite heavy. Only attempt to lift a portable air conditioner with the help of another person — or several. Attempting to lift the unit by yourself could cause serious bodily harm and could also damage your air conditioner.
- Never plug your portable air conditioner into a power bar or power extension. Once the compressor on your portable AC kicks in, your unit will require a ton of power. Therefore these units should only ever be plugged directly into a grounded outlet.
- Children should never be allowed to play with or near the unit. These are very dangerous for children. They could be crushed by the unit, electrocuted, or experience many other serious injuries.
- Do not plug in your air conditioner before the unit is installed. Make sure all components are installed properly. Exhaust and drain hoses must be air and water tight.
- Do not use the air conditioner until the air filter is correctly installed. Air filters remove dust and debris from the incoming air to your unit. Not using an air filter can cause serious harm to your air conditioner that may not be repairable.
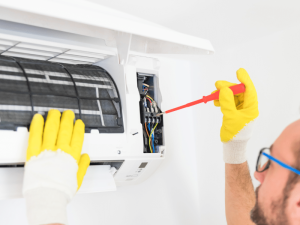
- Do not attempt to repair your broken air conditioner yourself. Only licensed and experienced technicians should ever attempt to repair an air conditioner.
Best locations to place a portable air conditioner
Portable air conditioners should always be placed:
- On a hard level floor
- A minimum of eight to 12 feet from any objects, including furniture or house plants
Your unit’s manual will have important instructions for how far away your unit must be placed from any walls.
Please note that these units are only meant to operate when placed on the ground. Do not place your portable air conditioner on a shelf, desk, or other elevated surface or object.
Make sure you choose a location close to a grounded power outlet. Also, check that the cord is long enough to reach.
Your hose should be kept as short and as straight as possible, per the recommendation of most manufacturers.
Once you have your unit in the ideal position, installation can begin.
For installation, you will need the following items:
- A vent hose
- Vent hose adapters
- Window slide connector
These will be included in your window kit.
Installation: Install Portable AC
Step 1: Install adjustable window kit
We highly suggest installing your unit near a window. The window kit included with your unit makes vent hose installation incredibly simple, and this is the best way to go about portable air conditioner installation.
Your window kit should work with most windows, regardless of how they open. Follow the instructions in your unit’s manual.
Step 2: Connect the vent hose
Connect the vent hose to the back of your portable AC.
Then, attach the other end of the hose to the window kit’s window exhaust connector. Lock it securely in place.
Make sure the hose is direct and aligned in a short, linear way between the unit and the window.
Step 3: Plug your unit into a grounded outlet
Plug your unit in. Most plugs have an indicator light that will illuminate when it’s connected. This light is likely above two buttons labeled “RESET” and “TEST.”
Press the “TEST” button to activate a built-in safety mechanism designed to stop electric currents if something is amiss with the power flow. The indicator light — and the unit — will both shut off. Next, press the “RESET” button. This will reconnect your unit to the power.
These should never be used to switch your unit on and off during use.
Your unit is ready to use after you press RESET and it powers on. Set the temperature levels according to the instructions in the manual.
Please note that this guide only covers the best way to vent your portable AC unit through a window. In some instances, window ventilation will not be possible and you will need to vent your unit through another method. Check our article about using portable ac without a window vent for more information. Do not use your unit without properly setting up the ventilation hose to vent outside of your house. For professional assistance, contact AHWA for hassle free service.
Related Posts