
Ductless mini splits are one of the most effective and energy-efficient solutions to your heating and cooling needs on the market today. Mini split systems are versatile, compact, and operate without the need for the ductwork required by traditional HVAC systems. However, like any system, they can experience problems from time to time. One of those problems is encountering a situation where your mini split is leaking water. While there are some problems that you can easily repair, others will require a service call from a qualified HVAC technician.
Dirty Filter
A filter that is full of dirt and debris will be too clogged for air to move through it properly. When the airflow becomes obstructed like this, the coil will freeze. After the coil thaws, the ice that builds up on it will melt and leak from the unit. You can keep your mini split from leaking water by keeping your filter clean. Your owner’s manual should provide you with maintenance guidelines but most filters need to be cleaned twice per month.
How to Clean Your Mini Split Filter
In addition to leading to leaks, a dirty filter causes your system to work harder than it should. This means higher utility costs, poor air quality, and a reduced life span of the unit. To keep your filter clean and avoid your mini split dripping water, follow this guide on how to clean your mini-split filter:
1. Turn the system off
Though it is not likely you will encounter a shock just by removing the filter, there is always the possibility that you might encounter a fault of which you were unaware. Turning off the system is merely a standard safety measure to prevent any chance of electrocution.
2. Locate the front panel
The filter’s location may vary depending on the brand of mini split you have installed. Most are located beneath the front panel of the indoor unit.
3. Remove the filter
Open the front panel, being careful not to touch the metal parts. Use a soft, dry cloth to wipe down the inside area. Pull the filter out of the unit.
4. Clean the filter
Use mild detergent and water to flush out the dust and debris from the filter. Be sure to rinse it thoroughly once you are done. Place the filter in an area out of the sunlight to dry.
5. Reinstall the filter
Return your clean and dry filter to the mini split unit, making sure it snaps into place. Some models may have clips that keep it locked in. With the filter back in position, close the front panel and turn your unit back on. This should stop your mini split AC from dripping water.
Blocked Drainage Pipe
The inside unit of your mini split has a coil that pulls moisture from the air during the cooling process. There is a drainage pipe that carries this moisture outside. If this drain gets clogged, the water will not drain properly. Instead of the water dripping outside, it backs up and drips down your wall. If your system seems to be cooling properly, any leak you see is likely because of a clogged drain. Here’s how to stop your mini split AC from leaking water.
How to Clean a Blocked Drainage Pipe
1. Gather your tools
You will need a screwdriver, duct tape, a vacuum, and a water bucket.
2. Remove the casing
With the system powered off, open the control panel and remove the filter. Remove the screws that hold the casing in place.
3. Remove the drainage line
The drainage line is usually found at the bottom of the unit. Remove any screws that are holding it in place. Pull the hose downward, unwrapping any tape securing it, and allow any water backed up inside to flow into a bucket.
4. Clean the drainage line
Use your vacuum to suck out any dirt and debris that have accumulated in the line.
5. Reassemble the unit and test
Once the drainage line is clear, reassemble the unit just as it was before and test it to see if your mini split is still leaking water.
Leaks Requiring Professional Service
In some cases, you may have more extensive issues that are causing your mini split to leak. If you are knowledgeable, you may be able to address some of these yourself, but most are better left to a professional.
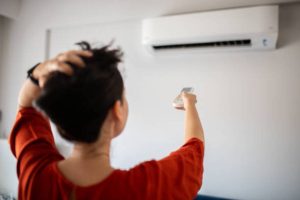
Tainted Thermostat
A buildup on your mini split’s remote control thermostat can cause the system to fail at regulating its temperature effectively. You should have it professionally cleaned to correct the problem.
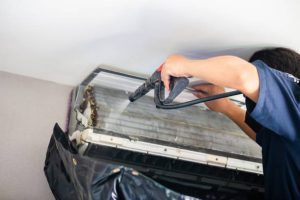
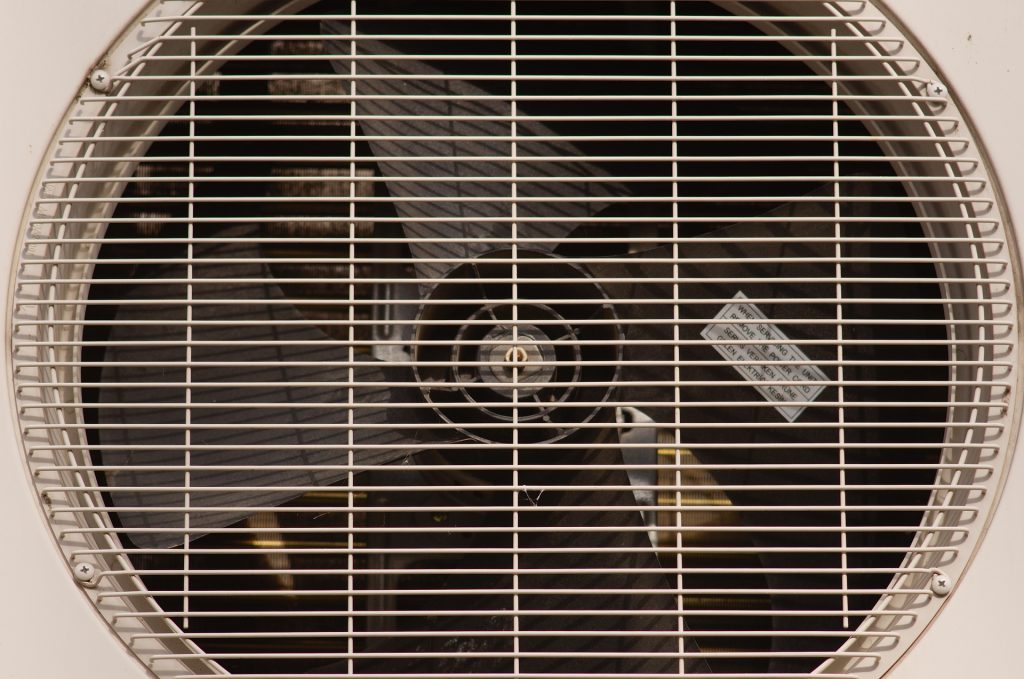
Clogged Indoor Unit
The indoor unit of your mini split includes a fan that can get clogged by dust and debris. If this happens, the system cannot blow out the air it is designed to produce and may begin to leak. If you are comfortable getting into the inner workings of the unit, you might be able to clean it yourself. Otherwise, contact a licensed HVAC technician.
Refrigerant Leaks
You may have developed a refrigerant leak which has resulted in your unit becoming low on refrigerant. This can cause the inside condenser to leak profusely. What you are mistaking for a water leak might actually be a refrigerant leak. You can tell the difference because a loss of refrigerant will also cause your unit to not cool. If you are losing refrigerant, contact a professional as exposure to refrigerants is a health hazard.
Leaking Seals
Your ductless mini split may develop leaks around the door seal if it has gotten ripped or worn. If you have opened the access panel to the system, the panel gasket may have been damaged. A professional can quickly repair your seals.
Damaged Drain Pan
Your mini split’s drain pan holds the condensate that forms from the coil’s contact with humid air. This pan can develop rust or become damaged over time, leaving it to leak fluids rather than storing them until they exit through the drain line. You will need to have it replaced.
Keep in mind that if your unit is leaking a lot of water and not operating correctly, it can be a serious problem that can damage your system as well as your home’s interior. If you are unable to determine and repair the problem yourself, the professionals at AHWA can help you identify and eliminate the problem.
Related Posts