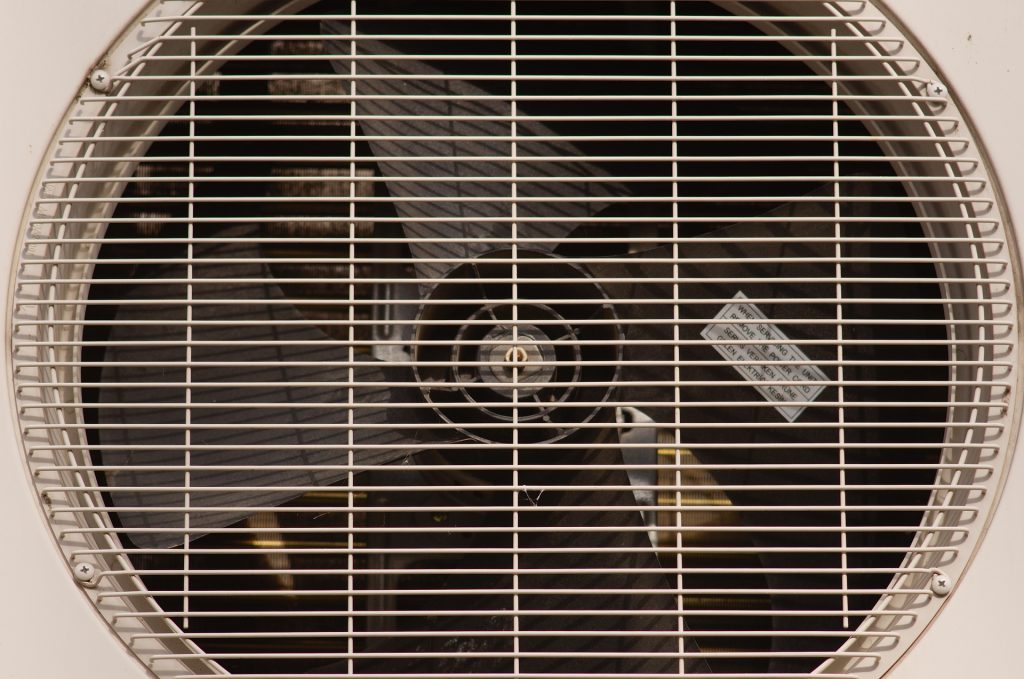
You can easily clean your air conditioner without spending money on a team of cleaning professionals.
We know… We know… Cleaning isn’t fun, especially when you’re fighting off dust, fungi, and other micro-particles that can cause you to sneeze your nose off.
We are going to show you how to easily clean your air conditioner and have it ready for the hot summer. Also, check out our Lennox Air Conditioner Reviews to find the best deals for your air conditioning unit.
To make it easier, we divided the task into three simple processes that involve cleaning the three dirtiest components of your air conditioner.
- The AC Ducts
- The AC Coils
- The AC Filters
You’ll have to spend at least 30 minutes on each of these components. That’s a total of 90 minutes.
It’s not a lot of time since you’ll be doing this only once a year (yes, cleaning your air conditioner once or twice a year is more than enough).
But why should you clean your air conditioner?
Dirt and debris build-up over long periods (one year) can easily clog your air conditioner’s system. Left out frozen AC lines can also cause your air conditioning unit to malfunction. If you’re not careful, your air conditioner will break down, experiencing one of these common problems, and you’ll have to pay for a replacement or repairs. Also, mold and dirt will lower your unit’s efficiency and lead to high electricity bills.
In addition to that, dust and other allergens such as mold will negatively affect your health. You’ll no longer be comfortable in your house with all the sneezing and coughing that will be going on.
Research shows that indoor air is generally unsafe and you’re better off camping outside.
As sinister as it may sound, your air conditioner might be one of the reasons you keep getting sick. Air conditioners in Phoenix and other major American cities with heavy pollution often suffer from this issue.
How To Clean Air Conditioner Ducts
This is probably the messiest part of cleaning your air conditioner. After all, all the dirt, dust, debris, fungi, and bacteria is usually found in the air ducts. This is usually the case with central air conditioners (skip ahead if you haven’t installed air ducts in your house).
Don’t worry, we’ll guide you on how to clean your HVAC ducts without making a mess of your home.
What you’ll need:
- A strong/heavy duty vacuum cleaner
- A normal dust brush with a long handle
- A screwdriver
- A few cleaning cloths
- A furnace filter (If yours is replaceable)
- A Face mask
Step 1: Cover the Supply Registers and Home electronics
Use plastic sheets to cover electronics such as desktops and televisions.
Next, use a few cleaning cloths to cover and block all the supply registers (vent covers). This is to prevent dust and dirt from getting blown into your rooms.
Step 2: Turn on the Fan
This will help loosen and blow all dirt and dust from inside the ducts and onto the duct openings for easier cleaning.
Step 3: Open and Clean the Supply and Return Registers
Make sure you’ve switched off the fan and air conditioner.
Next, open the supply and return registers and clean all the dust and dirt that has accumulated there. Use your long-handled dust brush to reach deep into the ducts and pull in all the dust and dirt.
Then, use your vacuum cleaner to suck it all in.
Step 4: Clean the Air Ducts
First, use your long-handled dust brush to reach as far as you can and clean the air ducts.
Next, use your heavy-duty vacuum cleaner (preferably with a long hose) to suck in all the dust and dirt.
Then, dip your cleaning cloths in soapy water and clean as far into the ducts as your hand can reach.
Step 5: Replace the Furnace Filter
You’re advised to replace your furnace filter at least once a year (this is your chance). Sometimes the dirt buildup might be too much and permanently clog the filter.
Finally, allow the components to dry and carefully put together the air ducts.
Remember, to keep your electronics covered from dust.
How to Clean Air Conditioner Coils
You might not know this, but it’s at the coils where everything happens.
The Air Conditioner Coils contain the refrigerant that is responsible for cooling your indoor air. Your AC first sucks in the hot indoor air and passes it over the coils. The refrigerant in the coils then absorbs the heat from the indoor air. The cool air is then pushed back into the room.
Dirt and dust buildup on the coils will reduce your air conditioner’s efficiency. The layer of dirt will insulate the coils and hinder the refrigerant from absorbing heat. This will force your air conditioner to consume more electricity. The result is high electricity bills.
What you’ll need:
- A coil brush with firm bristles (Can be bought from Amazon or at your local HVAC store)
- A garden hose (Water at medium pressure)
- A pair of cleaning gloves
- A screwdriver
- A foaming coil cleaner (Can also be bought from Amazon or at your local HVAC store)
Step 1: Gain Access to Your Air Conditioner’s Coils
First, switch off your air conditioner and also make sure the power supply is switched off.
For Window Air Conditioner Units, the coils are usually located at the back (the part that is outside your window/ inside the wall). Follow your AC’s manual and unfasten the cover using the screwdriver.
You might have to unmount the unit from the window to avoid creating a puddle of water outside your window.
For Central Air Conditioners, their position will vary with each model. Check the AC’s manual.
Step 2: Inspect and Brush the Coils and Fins
Before you start cleaning, open your eyes and inspect the coils and fins for any sign of damage.
Next, use your hand to pick out and remove large colonies of mold, dust, and dirt debris.
Thereafter, pick up the coil brush and clean in a motion that is parallel to the fins found on the coils. This will help straighten out fins that might be slightly bent or out of position. Be firm but careful.
Step 3: Rinse the Coils
Take your garden hose and rinse the coils with water at medium pressure. This will help remove any leftover dirt particles.
Step 4: Apply the Foaming Coil Cleaner
Please note that there are two main types of foaming coil cleaners:
- Standard cleaners
- Modern cleaners that don’t require you to rinse after application
Shake the bottle and apply directly onto the coils and fins. It’s foaming property will enable it to squeeze into spots where your cleaning water couldn’t reach.
You must apply the foam until the coils are completely covered and out of sight.
Next, leave the foam for 15 minutes.
Step 5: Rinse and allow the coils to dry
For standard coil cleaners, you’ll have to rinse after application and allow the coils to dry before assembling your unit. Rinse in a motion parallel to fins to prevent the hose water from bending them.
For modern coil cleaners, there is no need to rinse. Simply wait for the foam to dry up and assemble your AC.
You’ll be surprised how cleaning your air conditioner’s coils can drastically improve its efficiency.
Also, check our article on vacuuming AC systems without a pump for more information about cleaning AC units
How To Clean Air Conditioner Filter(s)
Filters deserve more credit than they get. You have no idea just how important filters are in your home. We already mentioned earlier on just how nasty your indoor air can be with all that dirt, bacteria, fungi, and pet fur.
Filters are the main tools responsible for cleaning your indoor air.
In addition to that, filters make sure that dust and dirt don’t reach other internal components (like those coils you just cleaned).
What you’ll need:
- A screwdriver to remove the vent cover
- A medium-power hand-held vacuum
- A hairdryer
- A new filter replacement (First, check if your filter is reusable)
Step 1: Open your AC to Access the Filter(s)
First, remember to switch off your air conditioner and unplug it from the power supply.
Go through your AC’s manual to know where the filter is located and whether or not they’re more than one (usually the case with central air conditioners). You can also search for a YouTube video that is specific to your AC’s brand and model.
Next, use the screwdriver to open the cover or unfasten the filter(s).
It’s also important to confirm whether or not the filter is replaceable.
Usually, reusable (non-replaceable) filters have metal or plastic frames. In this case, you’ll have to clean them.
Replaceable filters are usually enclosed with cardboard frames (Remove and replace them with new filters). Pay attention to the filter’s size not to buy a filter that is incompatible with your air conditioner.
Step 2: Inspect the filter
Check to see if your filter might be damaged, corroded or with any sign of wear. Replace your filter if you spot any of these defects.
Step 3: Clean the filter
First, use your hand-held vacuum cleaner to suck in all the dirt and debris from the dirty AC filter.
Next, take the filter to your bathtub or sink and use faucet water to remove any leftover dirt. Make sure to wash it face down in the direction opposite to airflow.
Step 4: Allow the filter to dry
Place it out in the open under natural light and heat.
Too much heat and you’ll damage it. You can use your hairdryer at a medium setting to quicken the process.
Make sure to flip the filter every 10 minutes until both sides are completely dry.
You should also check on your air conditioner’s filter at least once every month, especially if you live in hot and humid areas that are prone to mold infestations. If you like what you’re reading, check out more of our articles such as ” Central air vs mini split“.
Frequently Asked Questions
Is it ok to spray water on your air conditioner?
As long as you’re not spraying the electronic components, this is generally fine. That said, read your owner’s manual and make sure you let the unit dry before turning it back on to avoid any potential issues.
How often should you clean your air conditioner?
Filters need to be changed roughly once per month. You should conduct more rigorous cleaning twice annually. In between those cleanings, though, you should keep an eye on your air conditioner. If branches, leaves, and other debris gets caught in the condensers, you’ll want to clean that out ASAP.
What side of an air conditioning coil generally needs cleaning?
Dust and debris tends to gather on the outward-facing condenser coils so these are what you’ll need to clean much of the time. However, don’t neglect the evaporator coils during your bi-annual cleaning and maintenance.
How do you clean the inside of an air conditioner?
No matter what type of air conditioner you have, a crucial first step is to disconnect its power. This will avoid injury to you and damage to your unit. Refer to your air conditioner’s instruction manual for information on disassembling it. For central air conditioners, this is often as simple as removing the metal covering and cleaning the internal components. Window air conditioners typically have a front panel you can remove but you’ll have a much easier time accessing the insides if you remove the casing as well.


