
Through the wall air conditioner installation might seem complicated and finicky. In reality, it’s quite simple if you have the tools and knowledge. In this post, we’ll walk you through all of the necessary steps. By the end, you’ll know whether this is something you’d like to attempt on your own or if you’re better off enlisting the help of a professional.
Through The Wall Air Conditioner Installation: The Basics

If you’ve already done thorough research concerning what through the wall air conditioners are, feel free to skip this section. Otherwise, read this section for a brief rundown on their benefits.
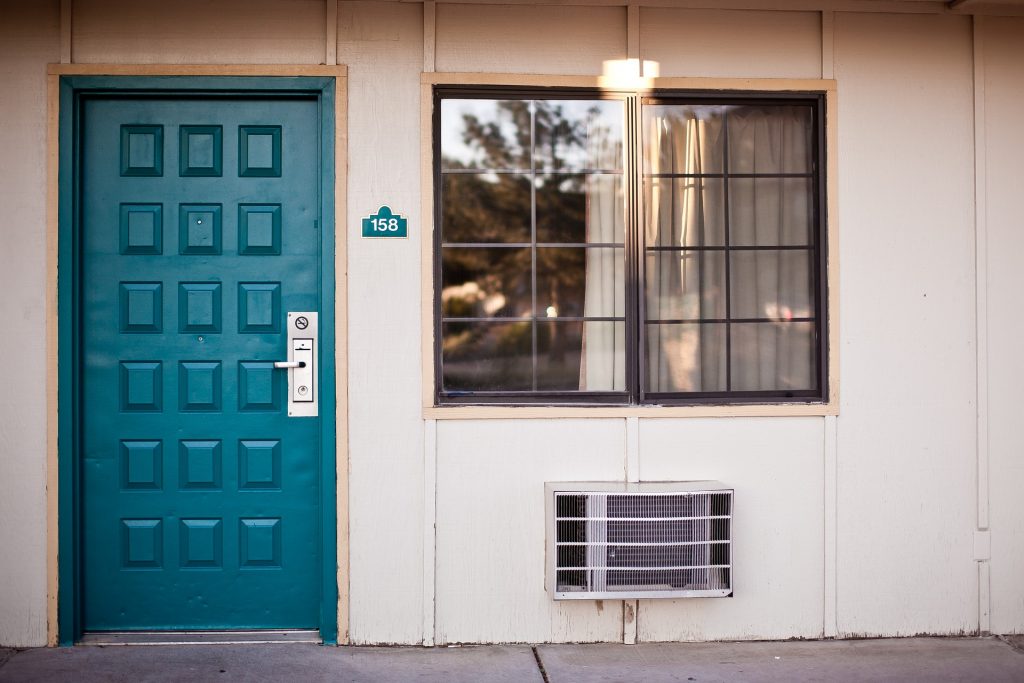
Contrary to what you might think on first glance, through the wall air conditioners aren’t just window units fixed to a hole in the wall. Functional differences include vents placed on the back of the unit rather than its sides. A through the wall air conditioner also doesn’t protrude outside as much as a window air conditioner. It sits relatively flush.
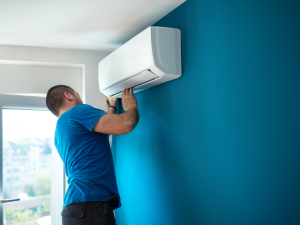
Note that you shouldn’t confuse through the wall air conditioners with mini-split air conditioners, which (despite their similar name) look completely different and consist of two separate units. Installation of a mini-split air conditioner involves mounting the unit with screws and brackets rather than cutting a huge hole in your wall.
Benefits Of Through The Wall Air Conditioners
Through the wall air conditioner installation doesn’t involve any of the ductwork you’d find with many other types of air conditioners. A single unit serves both the outdoor and indoor functions of the air conditioner. If full use of your window is mandatory (say, you only have one and it’s your fire escape route), a through the wall air conditioner is a great option worth considering.
Through the wall air conditioners can also be very efficient to run, with energy usage comparable to that of window air conditioners. Read more about how much electricity various types of air conditioners use here.
Potential Downsides Of Through The Wall Air Conditioners
Proper insulation is essential with a through the wall air conditioner. You’ll be cutting a hole in your wall that leads clean through to the outside. If you don’t insulate that hole properly, a draft will come through along with any insects or other pests that find their way inside.
In and of itself, cutting a hole is also a serious commitment. You won’t be able to move the air conditioner without refilling the hole and repainting it, which can be time-consuming.
While through the wall air conditioner installation isn’t impossible for DIYers, it can be quite difficult if you’re not handy with tools or lack confidence in your abilities.
How To Install A Wall Air Conditioner
Now that you know a bit about through the wall air conditioners, let’s discuss how to install a wall air conditioner. For your wall air conditioner install, you’ll need:
- A mounting sleeve or bracket
- A caulking gun (including the silicone caulking, of course)
- Measuring device
- Stud finder
- Paint (for retouching your wall after you cut the hole)
- A circular saw
- Hammer and nails
- Level
- Drill set
- Drywall knife
- Lumber (for framing the hole in your wall)
Step #1: Find A Suitable Spot
You’ll need to find a spot that is unobstructed and between 1 and 5 feet above your flooring. The wall you select should also be outward facing and close to an electrical outlet.
Step #2: Locate Your Wall Studs
Locate 3-4 studs using your stud finder. Studs are pieces of wood (usually 2 x 4) used to support your wall. They usually sit about 16 inches apart. When you locate a stud, mark it with a pencil and find the remaining ones. Most through the wall air conditioners come with some sort of guide that you can place on the wall to get an idea of the unit’s proportions. Position the guide in such a way that it passes through as few studs as possible. This will make your job a whole lot easier.
Step #3: Switch Your Power Off At The Breaker
Since you’ve chosen a wall that has an electrical outlet, you’ll need to take a few precautions. Locate the switch controlling electricity to the room in which you’re installing the air conditioner. Shut it off to avoid getting electrocuted when you start cutting into your wall.
Step #4: Cut Your Hole Into The Wall
Using the guide, sleeve, or bracket that came with your through the wall air conditioner, trace an outline that runs through as few wall studs as possible. Use your level to make sure whatever you’re using as a guide is perfectly flat as you draw. Once you’ve drawn that first outline, make another one roughly 2.5 inches larger than it. You’ll be using that outline to create a supporting frame.
Score along the outline with your drywall knife and then either hammer the piece out or make a clean cut with your saw.
If you notice insulation on the other side, wear the proper protective gear (a respirator mask, gloves and fully-sleeved/legged clothing) and cut the insulation as well.
By the end of this step, you should see exposed wall studs. Cut those studs as needed so that their edges are flush with those of your outline. The exterior portion of the wall should still be present at this stage.
Step #6: Build Your Air Conditioner’s Frame
Cut your 2 x 4s so that they fit lengthwise into your wall opening. You’ll end up with four pieces of lumber. Nail those pieces together and fit the resulting rectangle into your hole. Fix it to your studs as much as possible using screws.
Step #7: Make Your Exterior Wall Cutout
Here’s where you’ll cut the hole in your exterior wall. From the inside, drill a hole through each of the opening’s four corners. You’ll be using these holes as a guide when you head outside to make the cuts.
Once you’re finished drilling, head outside and draw perfectly straight lines connecting the holes using your level. When you cut through this outline with your circular saw, you’ll have a hole that aligns with your internal one. You should be able to see clean through to the inside of your home at this point.
Step #8: Insert Your Metal Sleeve And AC Unit
Next, insert your metal sleeve or bracket into the opening you’ve now created in your wall. Your wall AC unit installation manual should include some instructions for fixing the bracket in place, either with screws or some other method. Once the sleeve is in place, insert the air conditioner itself.
Step #9: Properly Seal The Opening
You’re almost done! Before you call it a day, however, you need to properly seal off all gaps in the opening. Fill particularly large gaps with drywall. Once you’ve gotten those gaps out of the way, plug the entire perimeter with caulking. Optionally, use paint to touch up any surrounding areas that may have gotten damaged.
Step #10: Plug Your AC In And Restore Power
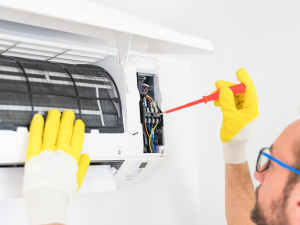
You did it! Now you’re ready to plug the air conditioner in and flip the power switch. You should strongly consider contacting a professional at this point to have them review your work. If you live in the Phoenix area, learn about our services here.
Air conditioner installation can be tricky so you won’t regret having a professional review your work. Alternatively, if these instructions have left you feeling skeptical about your abilities to get the job done, reach out to your local HVAC company and have them complete the install. Any competent professional should know how to install an air conditioner in the wall. Check out this post for some tips on choosing a suitable service company.
Frequently Asked Questions
How much does it cost to install an air conditioner in the wall?
You’ll spend an average of $2,400 for wall AC unit installation. That includes parts and labor if you’re contracting the work out. You can save $50 to $100 by performing the installation yourself.
Can you put a window air conditioner through the wall?
Window and through the wall air conditioners are generally not interchangeable. That said, there are some window air conditioners that can be retrofitted using special sleeves that make them behave like wall air conditioners. This is not typical, though, given that window and through the wall units have fundamentally different designs.
Do through the wall air conditioners need a sleeve?
Yes! If you attempt to install a through the wall air conditioner without a sleeve, you’ll find that the wall is incapable of supporting the additional weight. You’ll end up deforming the wall. Most through the wall air conditioners come with a sleeve or slide-out chassis.
Are all through the wall air conditioners the same size?
Through the wall air conditioners generally come in a standard size of 26″ by 16″.
Related Posts